Seriously easy and super inexpensive Gift idea and it involves Candy!
Perfect DIY for Valentines Day, Mother’s Day, or Teacher Appreciation. They also make Perfect Centerpieces for Parties!
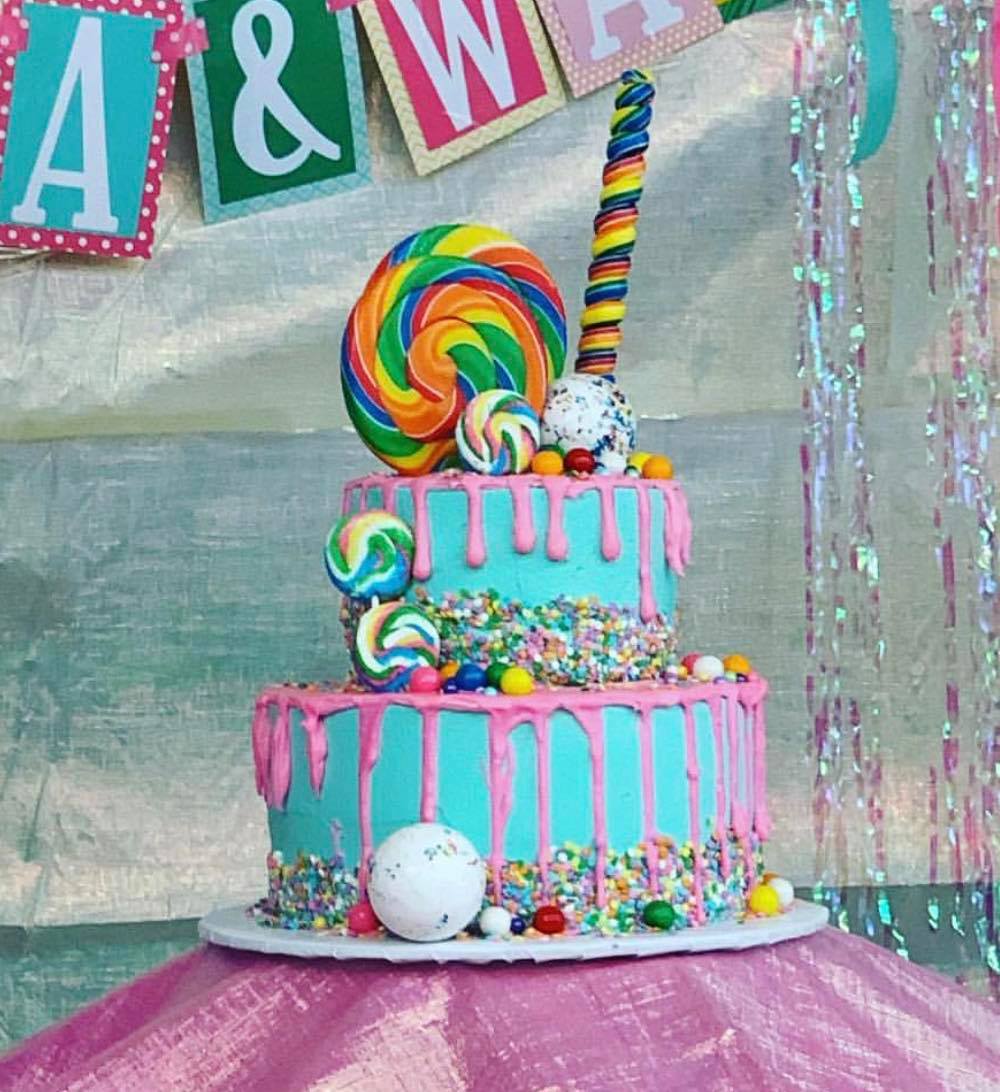
I’m Back after a Crazy time trying to navigate life with 3 kids now and a traveling husband! Hubby got a job within Driving distance from home and we decided together that it would be best for my Now 6 year old, as of December, to attend a Public School this year! So far he has excelled in every way and is now reading!! We can’t spell words around him anymore to keep secrets (haha) but we are so Proud! With the Holidays here, I needed a Gift I could give to his teachers that would say THANK YOU, but also wouldn’t take alot of effort or Break the bank! Also, I wanted an activity or craft I could do with my 6 year old, so he could see the importance of doing for others! Very little effort and money on our part and we got to give a handmade gift to his teachers that looked stunning on their desk! A conversation starter for sure! Not only was this great as a Christmas gift, but my baby girl will be turning one next month and we are doing a candy land theme, I’m thinking these will be PERFECT centerpieces for her party!
Disclaimer: This Blog post may contain affiliate links and any purchases made through such links will result in a small commission for me at no extra cost to you.
First You will need your supplies:
Extra Long Satin Pins
A Cup
Candy
Styrofoam Floral Half Ball
Hot glue Gun

Optional: A straw or Plastic Spoon and a roll of tulle, Cellophane, Party Ribbon, Scissors and a tag.

The form you have selected does not exist.
First you will take your cup and make an indention on the bottom side of your half ball floral foam so that its even all the way around. Ideally, You want a small overhang from your Foam Half Ball.
Fill your cup. I decided to fill mine with extra candy but I have used a brand new pair of rolled up socks, as part of the gift, and other small goodies as well!

Take your Hot Glue Gun and put a few dabs of Glue all the way around the rim of your glass and the glue down your foam half ball to your glass!

**If you don’t want a tulle bottom all the way around your creation, SKIP THIS STEP. If you do, you will need to cut your tulle in small sections about three inches wide! When you get ready to pin it to your foam, pinch it in the middle and draw it up to make a small triangle.
Take your candy and begin pinning around the bottom rim of your Foam Ball, slightly overlapping each wrapper. You can be creative here! I try to use one type of candy for my first layer but feel free to do whatever you please.My first layer required about 25 candies. My next layer I usually do a pattern of two different types of candies here! In this case I went with two green peppermints and the one red, all the way around til I reached my starting point. My second layer took about 21 candies. My third Layer I went with a solid Green line of peppermints. I used 17 candies in this layer. My Fourth Layer was solid red peppermints, it was about 14 Candies!! Not counting what I put inside my Glass, I needed about 125 pieces of Candy.
To see more DIY and Lifestyle Content, Please subscribe to our e-mail list.


***optional step. After your fourth Layer is done you can add a Straw or Cut the spoon part of a plastic spoon off and insert just the stem so it appears you’ve created a Sundae or Shake! If you don’t want to insert the Straw or Spoon you can skip this step and just continue on with your candy!

My fifth Layer Was a Solid row of the same strawberry candy I used to start with. This row took about 17 candies.

My sixth layer was about 11 all Green peppermints.

My seventh layer was about 9 Red peppermints.

My eighth layer Consisted of 6 Green peppermints.

My ninth and final layer was Three of the strawberry Candies side by side with a small dab of glue in between all three so they would look like one piece (the Cherry or Strawberry) on top.

CONGRATS!!!!!! YOU’RE DONE!!
After you are finished with your masterpiece, you can wrap it in Cellophane and Party ribbon and add a Tag, or you can skip this step and hand deliver as is! You can also put it in a gift bag with a card. Whatever makes you happy!

Just remember this creation tends to be top heavy and can easily fall over while transporting, if you aren’t careful! Feel Free to use ANY Candy you can possibly dream up! I’ve made tons of these over the years and have used all kinds of different individually wrapped candies! Would Love to See what You’ve created! You can Post to instagram and tag @domesticmavens or hashtag #sweettreats

You can View a Full Tutorial on my youtube Channel: Montana Withers- DIY Gift-Step by Step. A Hard Candy Bouquet for around 10$