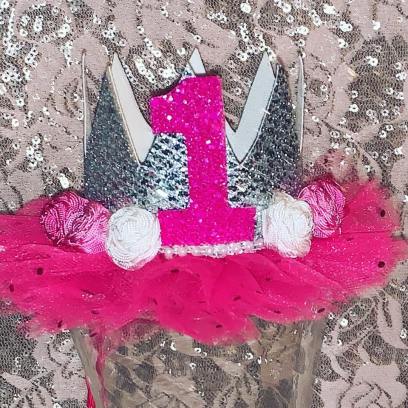
The Photo Prop You have GOT to have for girls turning One
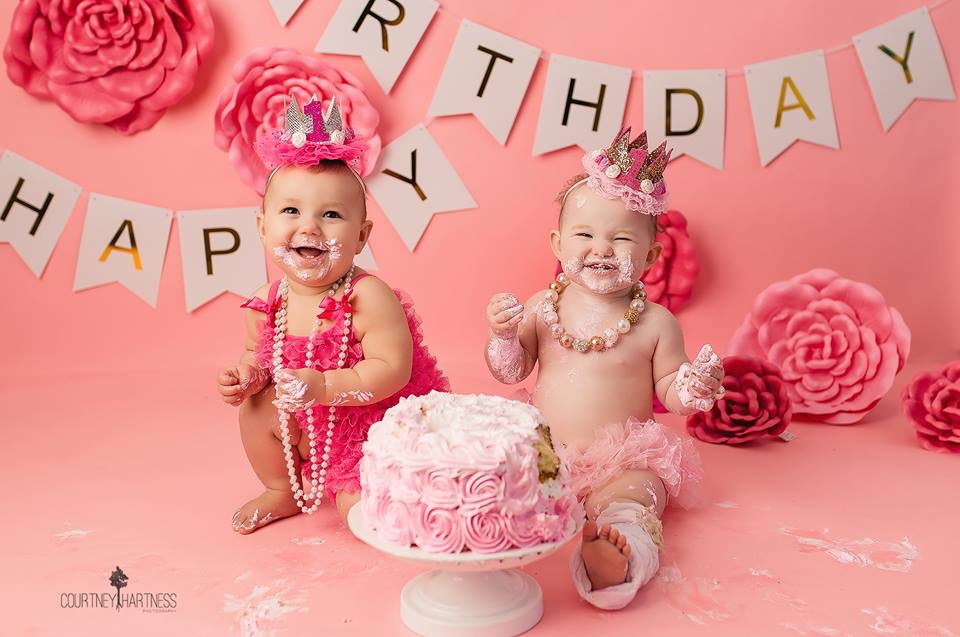
Before we start, Let me just Say HAPPY BIRTHDAY to my Baby Girl and my Niece!!! They are 5 days apart (NO, we didn’t plan that) and they couldn’t be more loved. Time sure does fly when your having fun! These girls keep us on our toes and they were exactly what we needed to bring the whole family together and complete it! I see a lot of DIY and sewing in our future ❤
Disclaimer: This Blog post may contain affiliate links and any purchases made through such links will result in a small commission for me at no extra cost to you.
To create your own You will need
- Scissors or Rotary Cutter with mat
- Some graph paper for a Pattern
- 1 Sheet of silver glitter Paper (Hobby Lobby)
- 1 Sheet of pink glitter Paper (Hobby Lobby)
- 1 sheet of Pink Felt (Walmart)
- I Cup (to cut out a perfect circle)
- Some Tulle or Lace Ribbon
- Hot Glue Gun
- Elastic for Headband (Walmart)
- Flowers or whatever you want as accents (Walmart)
- long strand of mini pearls or very thin ribbon for the trim where the crown sits on the tulle. (Walmart)
Let me start by saying there’s never just one way of doing things. I love sharing my methods and I hope it sparks individual creativity and you find what works best for you! Have different tools? Use them! I made the silver crown with this glitter sheet from Hobby Lobby but I made the gold one using a pink Foam sheet from Walmart and glittered it myself, hence the pink inside edges on the gold one! We intentionally left them exposed but the edges could have been glittered as well. I used the same Process for both. I’ll explain my Process with the silver one here, the only real difference will be I had to glitter the gold myself, in an extra step. Also, on the silver, I used Tulle under the crown and on the gold one I used Lace Ribbon. The trims are also different but that process is the same.
First things First
Take the graph paper and draw out a pattern. I had hubby draw a pattern I could use for my actual crown and one for my number “1” . (on the Crown, we used his first drawing and later cut it down just a little to make the peaks a little shorter.) I got this silver glitter sheet from Hobby Lobby, located right next to the felt sheets. I drew my pattern on the back and then cut out my crown.


**Make sure on one end to leave a little extra length so you can match up and glue or sew the crown together! I sewed the silver crown together and hot glued the gold one.
Next, You’ll want to cut out a circle in the silver glitter sheet and another one in your plain pink felt sheet, for the very bottom of the crown. After you have your glitter circle cut out, take your crown and hot glue it to the circle with your glitter side up.


Now cut off anything hanging outside the edge of the crown.
Now glue your silver sheet bottom circle to the bottom of your crown peaks to make it one ( Save your pink felt circle for now, we will use it at the very end.) Then we will take our Tulle (or ribbon) and crown and glue them together.

I found this Tulle bow already assembled in the perfect color at Hobby Lobby.
On the Silver Crown, I then used a strand of small pearls to go around the bottom of the crown, where it’s edge meets the tulle. You can use any trim You wish here. This Pearl strand from Walmart was perfect, because My Baby Girl had a pearl necklace with her outfit as well.

On the Gold crown, I got this ribbon from Walmart in Pink and went around the bottom of the crown with hot glue, until I went around three times. I then trimmed the bottom of that crown with a round satin trim in light pink, also from Walmart.

Next I traced my number “1” onto the back of my pink glitter sheet and cut it out!
Glue that on the front of your crown opposite of the back seam of your crown. After that, I glued my little Ric Rac Roses on the front. I bought these in the craft section of Walmart! Any Mini Flowers will work. I used some silver glitter paint and lightly coated the inside of the crown.
Next, I had to measure and cut the elastic. Since these were for their First Birthday we measured for 6-12 months or 14 inches. 12-18 months would be about 15 inches. You can find very helpful charts on Pinterest for measuring or Click here. Once you’ve cut your elastic you can go ahead and glue both edges to the bottom of the crown.
Next, take your piece of Circle felt you cut out earlier and glue it over the elastic end to cover everything. It will make it look neat as well as make it more comfortable.


TADA!!! ALL DONE! Hope you enjoyed this DIY. If you followed along and made your own, We would LOVE to see your creations and as always we love to hear your feedback!
Here’s a photo of our girls modeling our DIY crowns…